

How To Install Openvpn On Windows 7
Need a secure, encrypted mode to access your net? Why not turn to OpenVPN for Window Server? Setting upwardly your first VPN could be a pain, but you've come to the correct place!
In this tutorial, you lot'll learn how to set up a complimentary VPN and go on malicious entities out of your Windows Server.
Ready to secure your network? Well, swoop right in!
Prerequisites
This tutorial will be a hands-on sit-in. If you'd like to follow along, be sure you have the post-obit:
- A Windows Server – This tutorial uses Window Server 2022 R2.
- A client auto to test the VPN server – This demo uses Windows 10 64 bit.
- Connect to the desktop on a Windows Server using Remote Desktop (RDP) or your preferred desktop director client – This demo uses the default RDP window client.
Installing OpenVPN on Window Server
OpenVPN works on dissimilar operating systems, but it doesn't come with your OS installation. Kick off this tutorial by installing OpenVPN on your server.
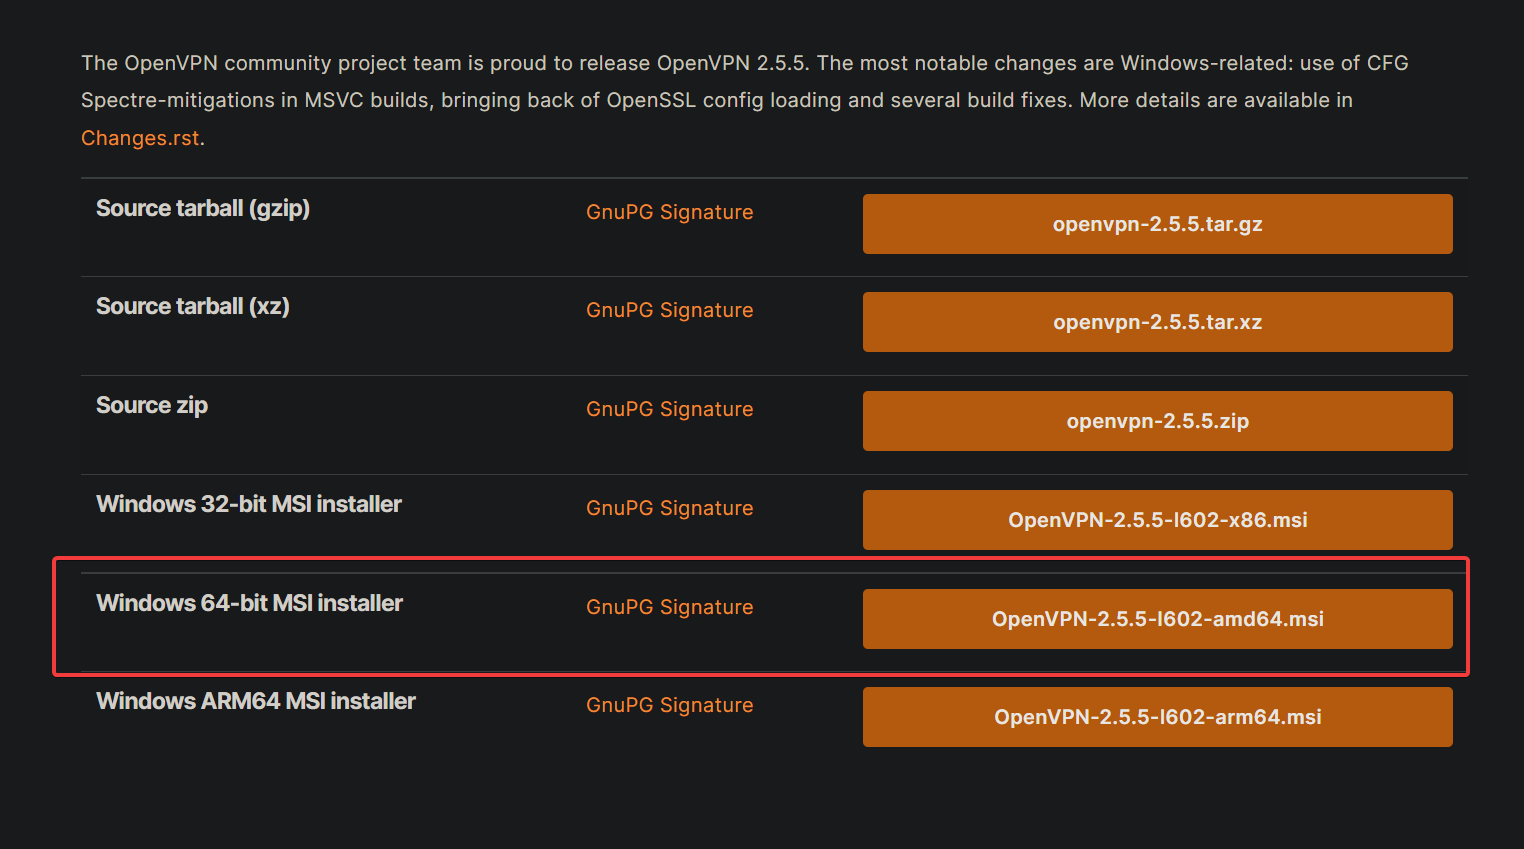
1. Open up your favorite browser and navigate to the OpenVPN download page. Download the Windows 64-bit MSI installer package to your server and run the installer.
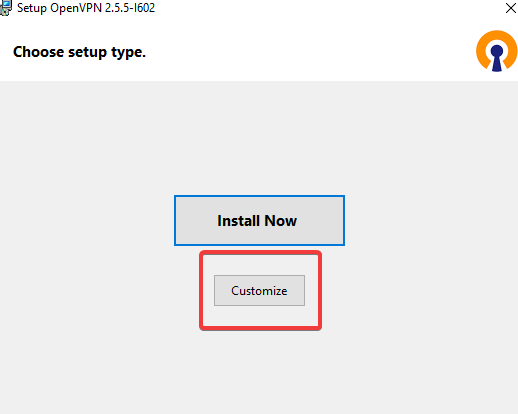
2. Next, click Customize on the installer magician'south initial page, as shown below. The Customize selection lets yous install extra items for your VPN server.
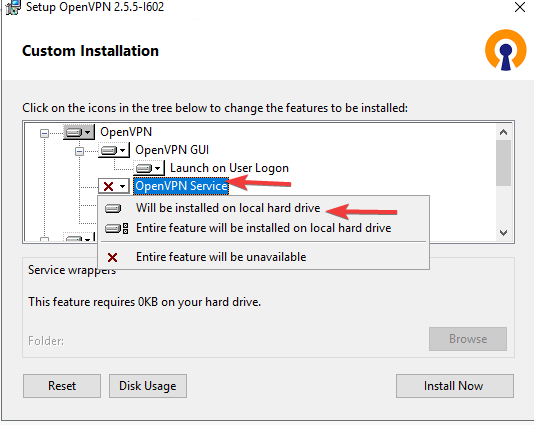
three. On the Custom Installation folio, click on the OpenVPN Service drop-down carte —> Volition be installed on local hard drive to install the OpenVPN Service to your system. This selection likewise enables the OpenVPN Service at your organisation boot.
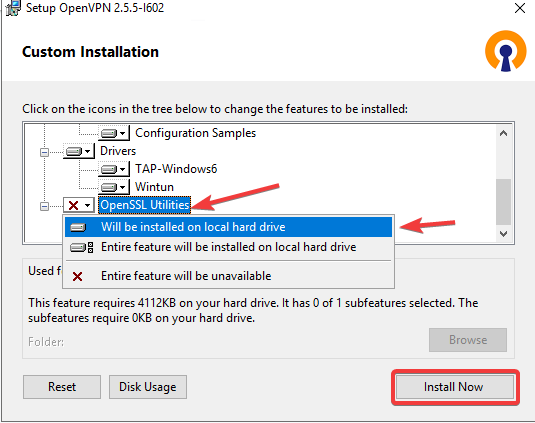
4. At present, scroll down, and click on the OpenSSL Utilities driblet-downward menu —> Will be installed on local hard drive pick. This selection makes OpenSSL Libraries and development headers available for the OpenVPN Service and required by the OpenVPN Service for certain cryptographic functions.
Click on Install Now to install OpenVPN on your server.
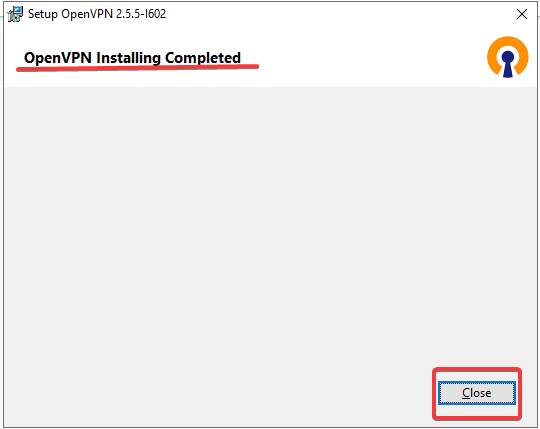
5. Finally, click on Close when the installation completes.
Generating Certificates and Keys for the Server and Clients
You now have OpenVPN installed on your server, but how will you secure your server's connection to the client(southward)? You'll generate certificates and keys for your server and client(s).
Certificates and keys are used to provide an encrypted connection between your server and client(s). You get a unique public and private key upon generating a certificate.
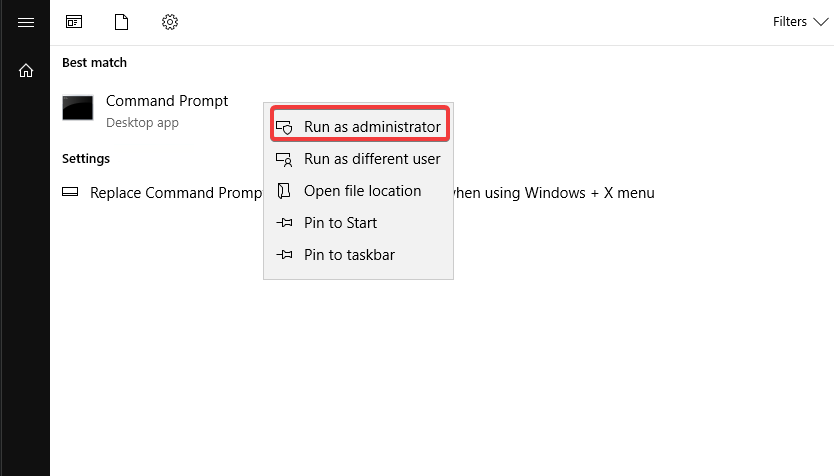
1. Open your command prompt as an ambassador. Some OpenVPN commands require elevated privileges to run.
two. Next, run the commands below to start the piece of cake-rsa beat. The easy-rsa vanquish is used to manage certificates, keys, and configurations.
EasyRSA will be your main command-line interface for the residue of the tutorial.
cd C:\Plan Files\OpenVPN\easy-rsa EasyRSA-Offset.bat 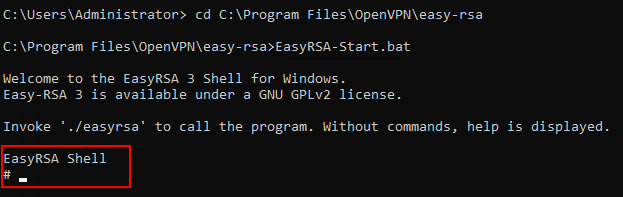
3. Run the ./easyrsa clean-all command below to clear any existing keys and configurations. This command ensures that y'all start with a clean configuration.
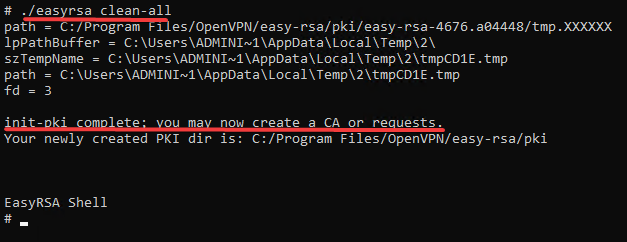
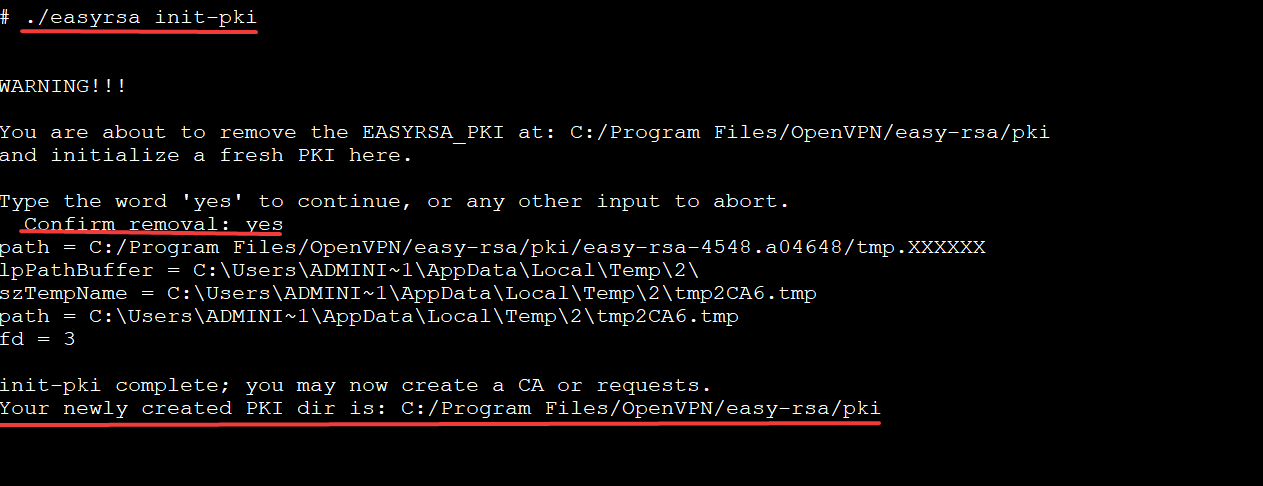
iv. Now, run the ./easyrsa init-pki command to initialize the Public Key Infrastructure (PKI) and create a new directory structure for your certificates and keys.
Public Primal Infrastructure (PKI) is a framework that allows you to create and manage public and private keys for your server and customer(s) to employ.
Type yeah and printing Enter to ostend that y'all want to destroy any existing keys and create a new PKI, as shown below.
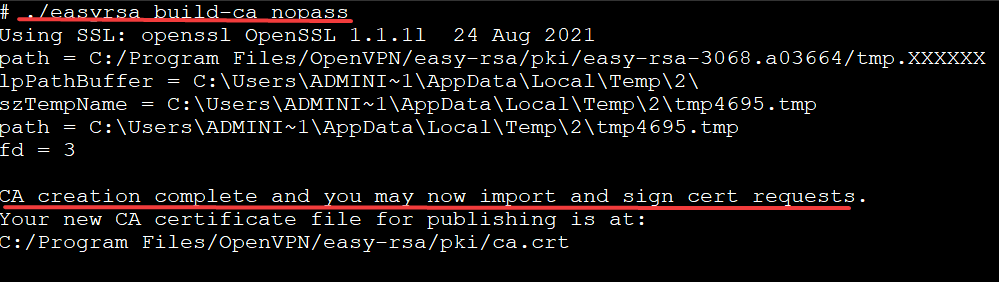
5. Run the command below to create the Certificate Authority (CA) (build-ca). The CA is responsible for issuing certificates to servers and clients, signing those certificates, revoking certificates, and and so on.
The nopass pick is used, so you don't have to enter a password every time you copy the certificates and keys to your clients. ./easyrsa build-ca nopass
./easyrsa build-ca nopass When configuring your VPN, you volition need to generate a certificate for your server and client(southward) signed by the Certificate Authority (CA).
6. Run the below command to build the server certificate and key (build-server-full). This command creates the OpenVPN server document and key, signs information technology with your CA, and places the files in the keys subdirectory.
./easyrsa build-server-total server nopass 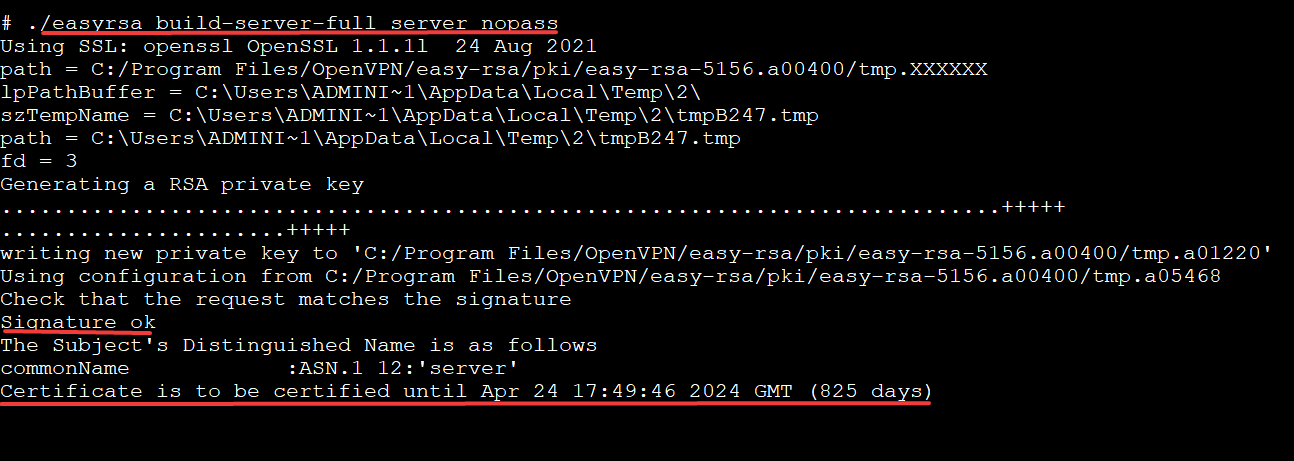
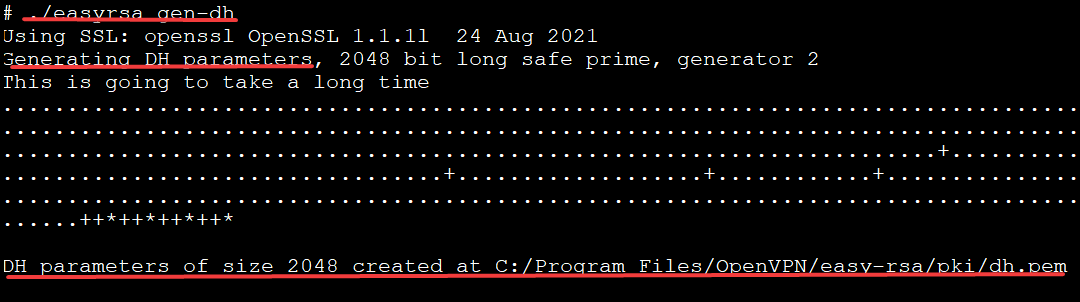
7. Adjacent, run the following control to generate the Diffie-Hellman parameters (gen-dh), then close your easyrsa shell.
Diffie-Hellman is a protocol that allows two users to exchange cryptographic keys over an unsecured connection. Diffie-Hellman will be required to ensure that your VPN stays secure even if your encryption keys are stolen.
By now, you take all the necessary SSL/TLS key files required for your OpenVPN service listed in the table below.
| Folder Path | Content |
| C:\Program Files\OpenVPN\piece of cake-rsa\pki | CA file, DH file, and other OpenSSL-related files like a config file. |
| C:\Programme Files\OpenVPN\easy-rsa\pki\individual | Include the private key files of CA, Server, and Client certificates. |
| C:\Program Files\OpenVPN\easy-rsa\pki\issued | Contains issued server and client certificates. |
8. Finally, open up your File Explorer, and copy the files listed below to the C:\Plan Files\OpenVPN\config-machine and C:\Program Files\OpenVPN\easy-rsa\pki\private folders.
| C:\Programme Files\OpenVPN\piece of cake-rsa\pki\ca.cert |
| C:\Program Files\OpenVPN\easy-rsa\pki\dh.pem |
| C:\Program Files\OpenVPN\easy-rsa\pki\issued\server.cert |
| C:\Plan Files\OpenVPN\easy-rsa\pki\individual\server.key |
Configuring your Windows Firewall Rules
Now that you accept configured your OpenVPN server, your next footstep is to ensure that yous can admission the service. You volition need to configure the Windows Firewall to permit OpenVPN traffic.
ane. Run the netsh command below to allow traffic through your Windows firewall with the following:
- Configures (
advfirewall) Windows Firewall (firewall) past adding a dominion namedOpenVPN(add rule name="OpenVPN") to the Windows Firewall. - Allows (
action=allow) all local IP addresses (localip=any) and external devices (remoteip=whatever) to communicate over this dominion. - Tells the server which port to open (
localport=1194 remoteport=0-65535) and what type of protocol to use (protocol=UDP).
netsh advfirewall firewall add together rule proper name="OpenVPN" dir=in localport=1194 remoteport=0-65535 protocol=UDP action=permit remoteip=whatsoever localip=any 
2. Open your C:\Program Files\OpenVPN\config-auto\server.ovpn file in your preferred text editor to preview its content, as shown beneath.
An .ovpn file is an OpenVPN configuration file. It contains all the information that OpenVPN needs to connect to a VPN, like encryption and hallmark keys. For this tutorial, you will demand a .ovpn file in gild to configure your connection with your VPN server.

Finally, run the following commands to restart your OpenVPN service to employ your changes.
net stop openvpnservice net beginning openvpnservice 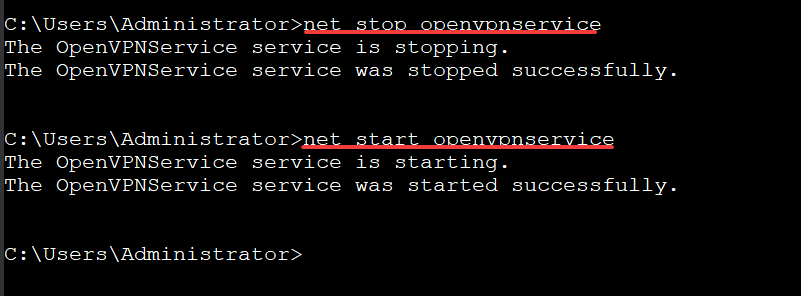
Configuring your Client
Apart from configuring your server to allow OpenVPN traffic, you'll also need to configure your customer. In OpenVPN, a customer is any automobile that connects to the VPN. This demo uses Windows x to connect to the server.
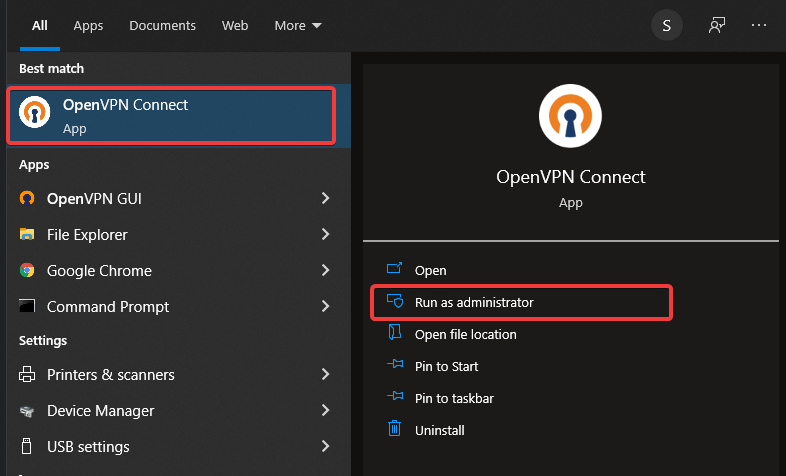
1. Install OpenVPN on your client as you did in the "Installing OpenVPN on your Server" ****section.
two. Re-create the files listed below from your server to your customer's C:\Programme Files\OpenVPN\config folder.
| C:\Program Files\OpenVPN\easy-rsa\pki\ca.cert |
| C:\Programme Files\OpenVPN\easy-rsa\pki\issued\customer.crt |
| C:\Program Files\OpenVPN\piece of cake-rsa\pki\issued\client.key |
three. Finally, open up the C:\Program Files\OpenVPN\config\client.ovpn file and populate the file with the content below. Supersede YOUR_OPENVPN_IP with your actual Windows Server IP accost.
# customer is your business relationship name, only you lot can choose your preferred name client # dev tun is the kind of VPN connexion y'all need, using an ethernet connection. dev tun # Protocol (UDP) used this VPN connexion proto udp # Ready the IP address of your OpenVPN server. # 1194 is the port of your OpenVPN server. remote YOUR_OPENVPN_IP 1194 # Resolve your domain names when they are non establish, # so you don't run into "domain non found" errors. resolv-retry space # Alter the value from "nobind" to "sea " to disconnect your cyberspace # when the VPN ID is disconnected. nobind # Your encryption key will be saved for the next time # you connect to the OpenVPN server. persist-central # your VPN connection will be saved for the adjacent time yous use information technology. persist-tun # The certificate your VPN server uses to identify itself to you (the customer). # Y'all tin download information technology from your VPN server. ca ca.crt # the proper noun of your document. cert client01.crt # the proper name of your encryption key. key client01.key # LZO data compression will compress your blocks of data # before sending so that the information should be smaller and faster. comp-lzo # The level of verbosity of your output will be prepare to the maximum. # So that y'all volition get the near amount of information from your connectedness. # This feature is handy when trying to debug your connexion. verb iii Testing your Client's VPN Connectedness
Now that y'all take installed and configured both server and client, information technology is time to test whether the connection between them works properly.
On your Windows 10 client, run the OpenVPN GUI.
Right click on the OpenVPN status icon (monitor with a padlock icon) in the notification area, and choose Connect to connect the customer to your VPN.
Once the client is connected, the OpenVPN condition icon turns green, and y'all'll get a vpn is at present connected notification, as shown below.

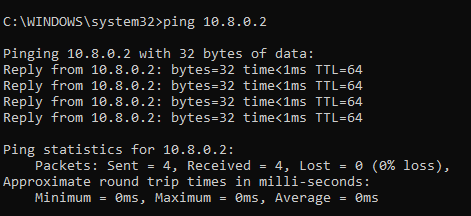
For double-checking, you can ping your VPN server using the assigned IP address (10.8.0.2).
ping [10.eight.0.2](<http://x.eight.0.two/>) The output below confirms that your VPN works as intended.
Conclusion
In this tutorial, you have learned the proper steps to install OpenVPN on Windows Server. You also learned to configure the OpenVPN server and client via an OpenVPN configuration file (.ovpn). At this point, you lot now have a fully-functional VPN service that you can use to secure your cyberspace connexion to scan the web safely.
At present, why not extend your VPN Connectivity to Amazon AWS VPC using AWS VPC VPN Gateway service with this newfound knowledge?

Source: https://adamtheautomator.com/openvpn-window/
Posted by: brouwerjuseenoth.blogspot.com
0 Response to "How To Install Openvpn On Windows 7"
Post a Comment